


Uploading custom pictures and logos in WWE 2K25 is a way to make your game more personal. I’ve got you covered! Everything you need to know about WWE 2K25 how to upload custom pictures and logos is in this guide.
This feature lets you create unique Superstars, arenas, and other elements that show off your creativity and style. The process is easy and works on different platforms like PlayStation, Xbox, and PC.
First Prepare Your Images for Upload

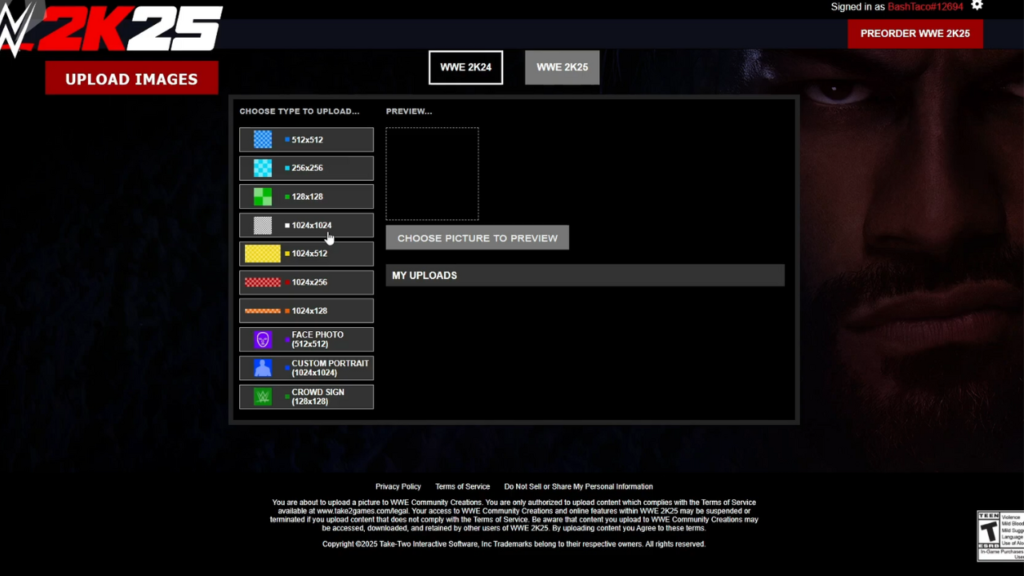
First, make sure your images are in the right format and size. WWE 2K25 supports several image sizes, like 512×512 for face photos and 1024×1024 for custom portraits. Using good-quality images is important for making them look good in the game.
You can edit your images using simple software like Pixlr or GIMP. Saving your images as PNG files helps avoid background problems, making them look more professional in the game.
How to Upload Custom Pictures and Logos In WWE 2K25
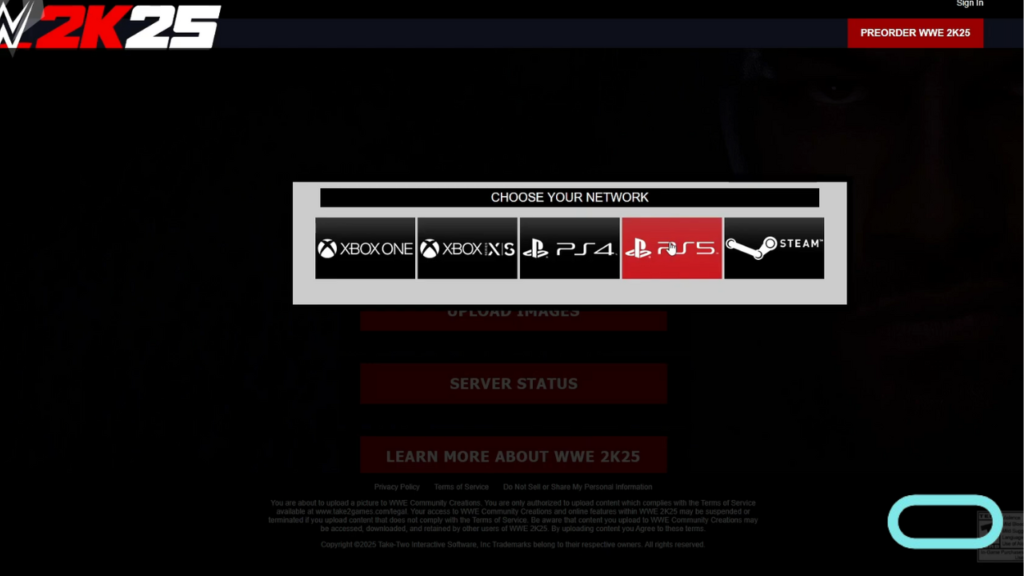
To upload your images, go to the official WWE 2K website and click on “Upload Images.” You will need to choose your gaming platform and sign into your account. Once logged in, you can pick the type of image you want to upload based on its size.
This step is important because different sizes are used for different game elements, like ring aprons or show logos. For example, if you want to add a custom logo to a Superstar’s attire, you would use a specific dimension like 512×512.
After uploading your images, you can use them in different game modes. For example, you can add custom logos to your Superstars’ clothes or create a unique arena with personalized banners.
If you liked this guide, please share it with your friends. If you have any questions, feel free to ask in the comments below, and I’ll be happy to help!
