


Using drying racks in Schedule 1 is a great way to improve the quality of your products and earn more money. This guide will show you how to set up and use drying racks in Schedule 1 effectively. By following these steps, you can turn low-quality items into premium products that sell for higher prices.
Getting Started with Drying Racks

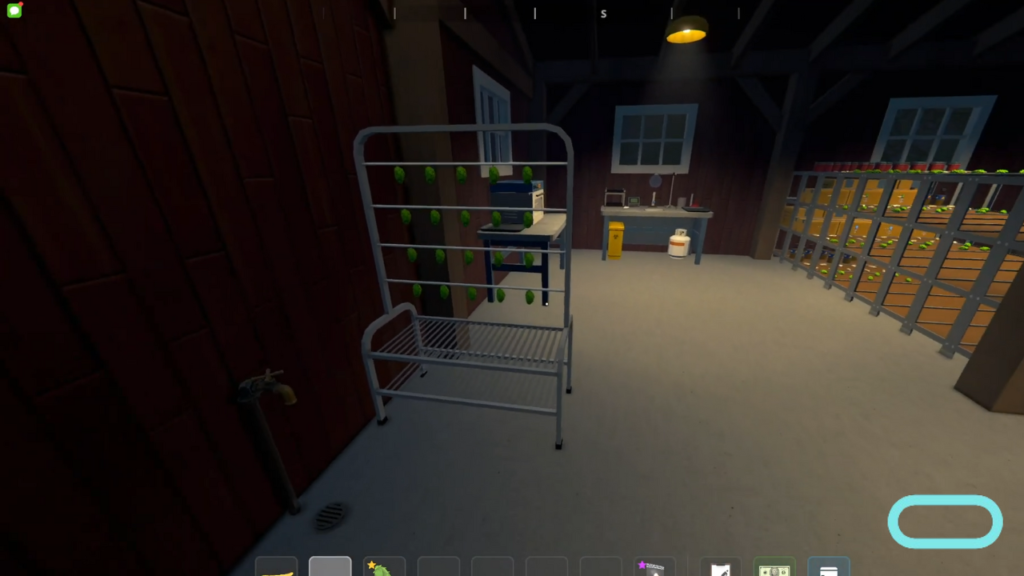
To begin, place your drying racks indoors where they are easy to reach. Make sure there is nothing blocking the way to the racks, as this can stop your botanists from working properly.
Use a management clipboard to assign the drying racks to your botanists’ work area. This helps them know exactly where to work.
Each botanist can handle up to four drying racks efficiently. If you give them too many tasks, they might get overwhelmed and work more slowly. Ensure your botanists have access to necessary supplies like seeds and soil.
In Schedule 1, the price of a drying rack is $250. This investment is important for improving the quality of your products, which can significantly boost your earnings as you progress through the game.
How To Use Drying Racks in Schedule 1

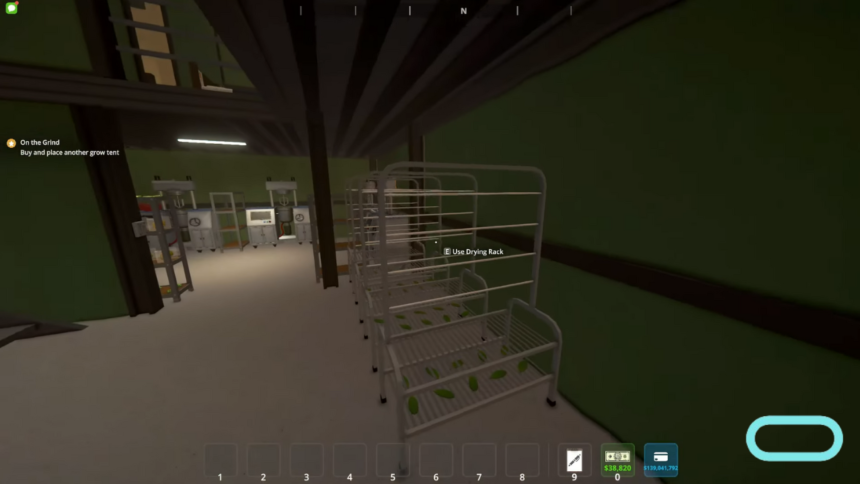
Drying racks are used to make your products better over time. After putting items like leaves or cocoa on the rack, you must start the drying process by pressing the “Dry” button. Without this step, the items won’t change or improve in quality.
The drying process takes time, with products gradually becoming better. For example, a product might start at purple (low quality) and become blue (premium) or even yellow (heavenly). Keep an eye on the progress and remove items when they reach your desired quality level.
Making the Most of Your Drying Racks
To get the best results from your drying racks, follow these tips:
- Assign Tasks Clearly: Use your clipboard to assign specific drying racks to each botanist. This ensures they know exactly where to work.
- Set Quality Goals: Use the clipboard to set a target quality for each rack. This helps you aim for “Heavenly” products without constant checking.
- Manage Workflow: Ensure dried products are moved quickly to storage shelves or other destinations. Assign these destinations through your clipboard for smooth operations.
- Avoid Overloading: Balance tasks among your botanists to prevent delays in harvesting, drying, or moving products.
By following these steps, you can keep your workflow efficient and consistently produce high-quality items.

Why Drying Racks Are Important
Drying racks become more valuable as you progress through Schedule 1. Early in the game, customers might not care much about product quality.
However, as you unlock higher-tier areas like Suburbia or Uptown, quality becomes crucial. Customers in these regions prefer premium or heavenly products and are willing to pay more for them.
Using drying racks in Schedule 1 effectively allows you to meet these demands and boost profits significantly. Higher-quality products also improve your success rate with free samples, helping you attract repeat customers and grow your business.
